Saturday, August 10, 2013

Home is...

I have started an exciting new project that I am just dying to tell you about. I saw this on Pinterest and of course you had to pay $40 for just the tracing paper with the pattern, so I decided to figure out how to do it on my own. I researched different ideas on how to transfer patterns onto fabric. I finally decided to put up the pattern up on a window and trace onto the fabric with a frixion pen. I know there has been some debate on how good the pen erases, but I've never had problems and it was the best transfer pen I had on hand.
Here is my set up on my back door. It wasn't quite wide enough, but I made it work.
Hand Quilted Love
I found this printable to use. You can print large engineering prints at Office Depot and Staples for under $5, but since I wanted to get started right away, I printed it off on my computer using the poster option. I just taped it together and put my 1 yard of white Kona right on top and got to work. I did all the tracing in the afternoon light where it isn't direct so that it wouldn't heat up too much. Then after I was done tracing, I thread basted it together with some batting and a solid blue back (Ocean Kona I believe).
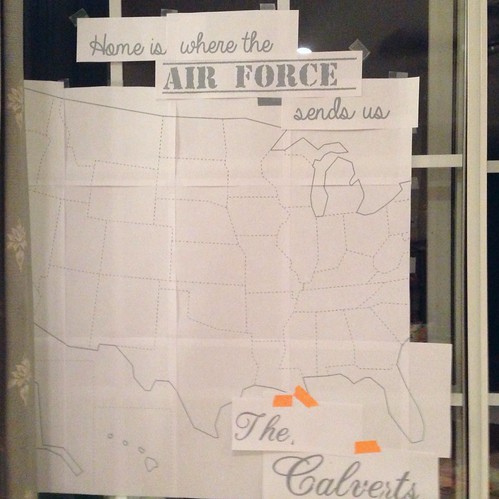
I first worked on running stitches along all the state-to-state borders (the dashed lines). They went by pretty quickly. My advice is to do the longest connected lines first such as the Mississippi River that is the longest connected line.

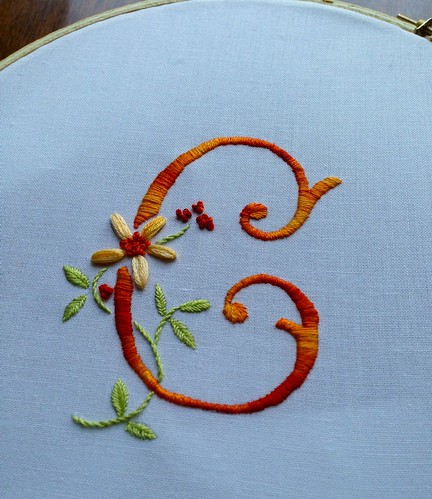
Now I was ready to venture onto some embroidery. I found Mary Corbet's Needle n' Thread's Lettering Tips and Tricks and sat and watched all of her videos. I learned so much! They are easy to follow and she has a ton of helpful tips. I first wanted to try out some of the stitches I would use on a smaller project, so I stitched up with little initial with satin stitch. The leaves are herringbone, stem is stem stitch, and there are a few little french knots thrown in. I'm glad I practiced the satin stitch first. It's a little shaky on this project, but I got better the more I did.

First try at embroidery


This is what I have finished so far. I am excited to continue, but I really need to put it down to work on some deadline projects (i.e. the triple zip pouch swap, a kindermat cover for a friend, August's bee blocks).

I've been using a large quilting hoop to help me embroider the words.

So wrinkly! But I don't want to loose all my tracing lines...
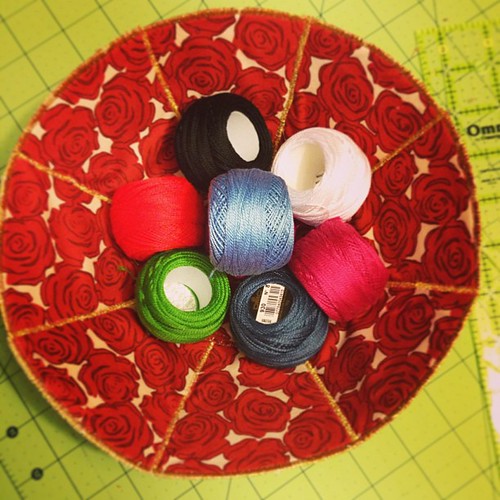
Here is my finished triple-zip pouch for my partner! I hope she likes it!
When I started this adventure I did not have any pearl 8 cotton, so of course I had to buy some. And I needed a place to store it. So I used my newly purchased Juliana Racquel fabric from Joann's and this tutorial to make a cute bowl. I didn't have double sided stabilizer, so the one side it is a little bunched, but still adorable.


Started my pearl 8 cotton collection and needed somewhere to put them, so I had to whip up this cute bowl with my new fabric purchase.

Linking up at Creative Monday and Made by You Mondays 

No comments: